How to preserve handwritten recipe cards
Preserving a recipe card is four jobs: capture it, transcribe it, store the original and share the copies. This guide takes them in that order, using nothing more than a phone and a few sleeves. It is built on one idea: keep the handwriting and the cookable version together, because the typed recipe is what you cook from and the card is why anyone keeps it.
Before you touch anything, photograph the box as it is
Start with a single photo of the whole box, or the drawer, or the stack, exactly as you found it. It looks like a pointless step, and it is the one people most often wish they had taken.
The order the cards are in is information. Whoever filed them put the pie recipes together, or kept the ones for Christmas at the front, or tucked a neighbour's card behind the one it was copied from. Once you start sorting, that order is gone for good, and a snapshot is the cheapest way to keep it.
After that, work one card at a time. Do not clean anything, do not tape a torn corner and do not laminate anything yet. Every one of those fixes is easier to do after the card has been photographed, and some of them cannot be undone.
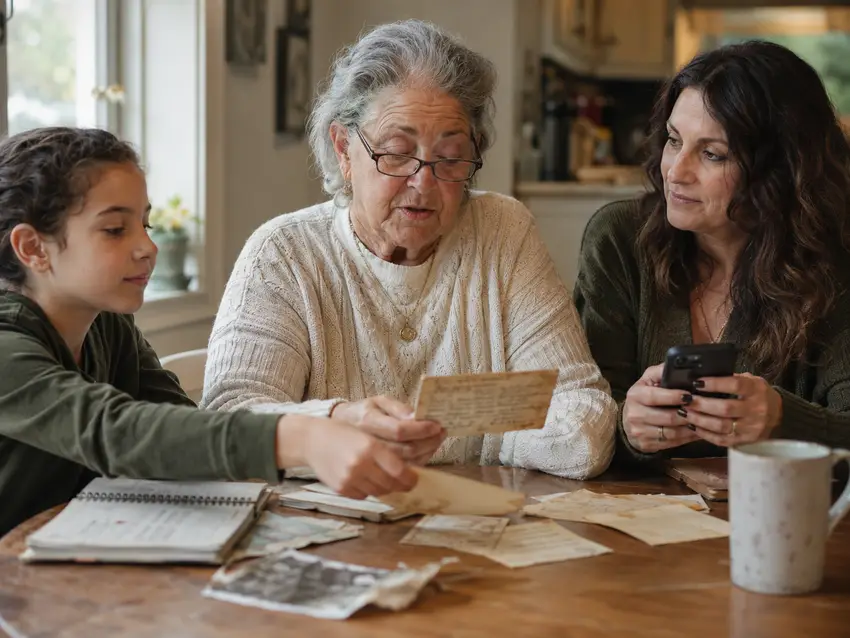
Step 1
Photograph or scan every card
With a phone
A phone is enough. What matters is how you take the photo:
- Use window light and turn the flash off. Flash bounces off the card and leaves a bright patch over the writing.
- Hold the camera straight above the card, with the card flat on a plain dark surface. Shooting at an angle makes the writing lean and the card look like a trapezoid.
- Fill the frame, but keep the edges, the stains and the margin notes in it. They are part of the card.
- Take the front and the back as separate shots. People write on the backs of cards more often than you would expect.
- Take the card out of any glossy sleeve first. Plastic catches the light and glare can hide the very words you are trying to keep.
- Check each shot for cut-off corners before you move on to the next card. It is much easier to retake it now than to find out later.
With a scanner or a scanning app
A scanner gives flatter, more even results than a phone, and a scanning app on your phone can get close.
- Use a flatbed scanner if you have one, since it presses the card flat and lights it evenly.
- Otherwise use a scanning app's document mode. It flattens the perspective and brightens the page, which is handy for faded ink.
- Keep an unedited copy beside any brightened one. Brightening can wash out pencil and pale stains that you may want later.
- 300 dpi is plenty for printing. Higher numbers make larger files without making the writing any clearer.
Naming and backing up
Put every photo in one folder, and name the files as you go. Something like "apple-crumble-grandma-ruth-front" and "apple-crumble-grandma-ruth-back" means you can find a card a year from now without opening fifty images.
Then keep the folder in two places. The phone album is one; a cloud drive, a second computer or a family member's device is the other. A photo that exists in one place only is one dropped phone away from being lost.
Step 2
Transcribe each one so a stranger could cook it
A photo of a card is a record, not a recipe. Nobody can cook from a smudged image on a phone with flour on their hands, so every card needs a typed version too.
Type it exactly first. Keep their spelling, their abbreviations and their shortcuts: "1 c. flour", "bake till done", "a good handful". That plain copy is your transcript and you should not tidy it.
Then add what is missing, in brackets so it is clear the note is yours and not theirs. Fill in the oven temperature, the pan size, how many it serves and what "till done" looks like. Do not fix their voice. The brackets are for the cook who comes after you.
Proofread every quantity, especially if you used an app that reads handwriting. Those apps get numbers wrong in ways that look right: a 1 becomes a 7, and a half becomes a whole. For the doubtful ones, cook the recipe once and see whether it behaves.
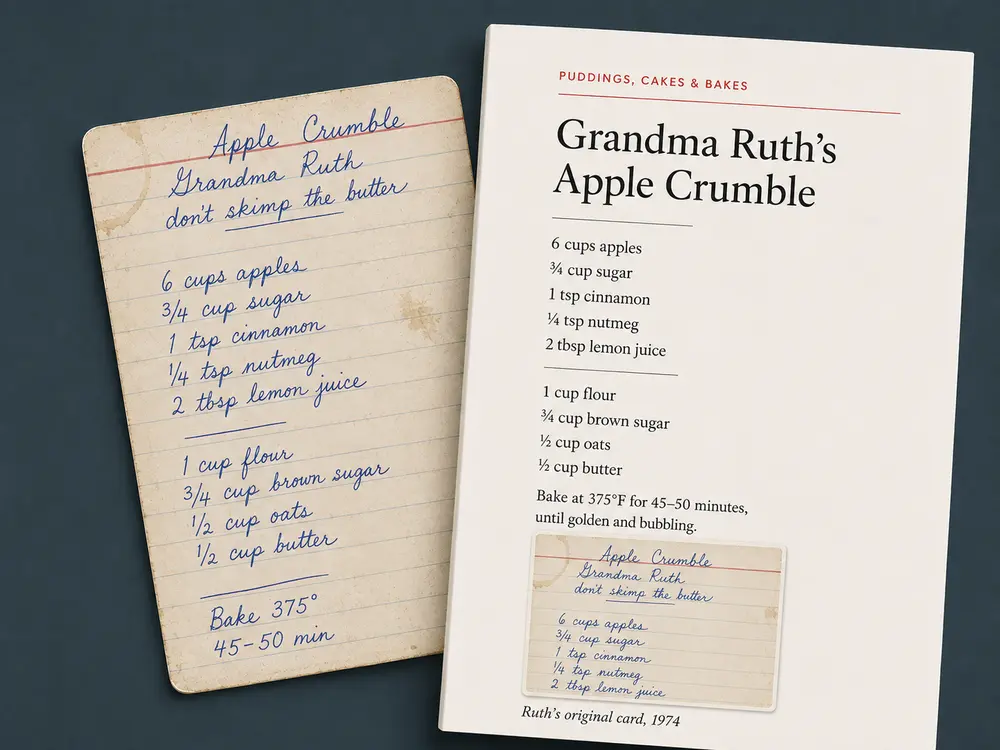
Keep the photo and the typed version filed together, so the pair stays one recipe.
The family cookbook guide covers writing recipes up in full.
Step 3
Store the originals
Once a card is photographed and typed, the original is safe to put away. The aim is dry, dark and cool, which rules out the kitchen drawer beside the stove.
- Use a box or a binder with sleeves, kept somewhere with steady temperature, such as a closet shelf rather than an attic or a basement.
- Put one card in each sleeve.
- For double-sided cards, use a sleeve you can read through, so you do not have to take the card out to see the back.
- Do not use tape, even on a tear. It stains and the adhesive spreads.
- Do not laminate. It is permanent, it cannot be reversed and it yellows with time.
- Do not use rubber bands or paper clips, which leave marks and can cut into the edge.
- If you want a favourite on display, frame it behind glass out of direct sun and cook from a reproduction instead.
Choose one named keeper of the box. Everyone else gets the photos. It sounds formal, but it stops the cards from drifting between households, which is how most of them get lost.
Difficult cards
Pencil
Pencil fades and shines at certain angles. Light the card from the side, so the graphite stands out, and keep a brightened copy beside the original.
Stains across the text
Photograph the card first, then transcribe your best guess for the words you cannot read. Mark each guess in brackets with a question mark so it is plain that it is a guess. Someone else in the family may recognise it.
Double-sided and multi-card recipes
Photograph the cards in order and number the files: "pie-crust-1", "pie-crust-2". Treat the whole set as one recipe when you type it.
Another language
Transcribe the recipe in the language it was written in, then add a translation beside it. Keep both. The original wording carries the voice, and the translation lets everyone else cook it.
Clippings from packets and newspapers
These count. A recipe cut from a flour bag and used for forty years belongs in the box. Photograph it and note where it came from, if you know.
Step 5
Put the handwriting on the printed page
If you plan to make a book, the typed version and the card belong on the same page. The typed version is what you cook from, and the card is the reason anyone keeps the book.
You can do this yourself in a document: put the card image beside the typed recipe on each page, and print the pages.
A photo-book service can do it too, with a photo slot for the card and a text box for the recipe. Every page is laid out by hand, so it is slower as the number of recipes grows.
A recipe-book service can do it for you. Tablespoon, for one, prints the photo of the original card on that recipe's page beside the typeset version, smudges and all.
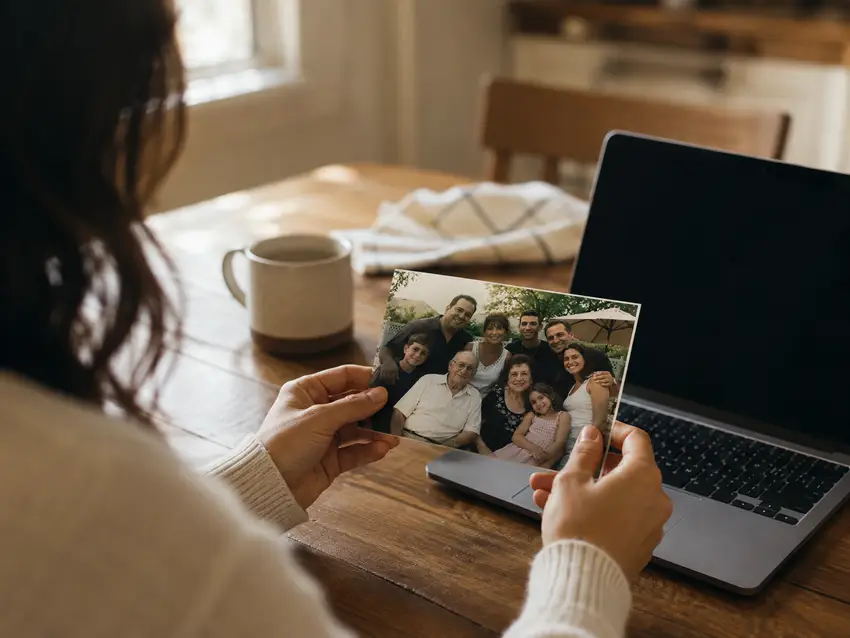
If the cards belonged to someone who has died, how to make a memorial cookbook is about the book itself.
Where Tablespoon fits (and where it doesn't)
Tablespoon is a recipe-book service. It starts after the work above, once you have a photo and the text of each card. It does the following:
- Photograph a card and it is printed on that recipe's page, beside the typeset version.
- Paste or type the recipe text, and it is typeset in one consistent layout.
- Recipes sit in chapters you name and reorder.
- Unlimited co-authors can add recipes from any phone or computer.
- You preview every page, and nothing prints until you order.
- Softcover is included and hardcover is a one-time $20, on US Letter (8.5" x 11") premium coated paper in full colour. A book holds 20 to 200 recipes. Standard shipping arrives in 1–2 weeks and is free; express arrives in 3–5 business days for an additional fee.
What it doesn't do: it does not store or scan your originals, it does not read handwriting for you, and it has no free-form page layouts or pages that are not recipes. You photograph the card and type or paste the text yourself.
It's a yearly plan: $69.99 for a year of recipe editing and one printed book. For anything else, see our refund policy.
Photograph a card, paste the text · preview every page before it prints
Frequently asked questions
Either works, and a phone is enough. A scanner or a scanning app's document mode gives flatter, more even results, but a photo in window light with no flash is fine. Whichever you choose, shoot the front and the back, keep the edges in the frame and back the files up in two places.
No. Lamination is permanent, it cannot be reversed and it yellows over time. Photograph the card, put the original in a plain sleeve, and keep it somewhere dry and dark. If you want a card in the kitchen, print a reproduction and laminate that instead.
Light it from the side, photograph it and brighten a copy, keeping the original photo untouched. For words you cannot read, transcribe your best guess in brackets with a question mark. Ask older relatives, since someone often remembers the dish. Cook it once if the quantities are doubtful.
Yes. You can lay it out yourself in a document, use a photo-book service, or use a recipe-book service. With Tablespoon, you photograph the card and it is printed on the recipe's page beside the typeset version, so the handwriting survives as well as the recipe.
Somewhere dry, dark and cool, not the kitchen drawer. Use a box or a binder with one card per sleeve, and sleeves you can read through for double-sided cards. Skip tape, lamination, rubber bands and paper clips. Name one keeper of the box and give everyone else the photos.
Transcribe it in the language it was written in, then add a translation beside it and keep both. The original wording carries the voice of the person who wrote it, and the translation lets everyone else cook the dish.
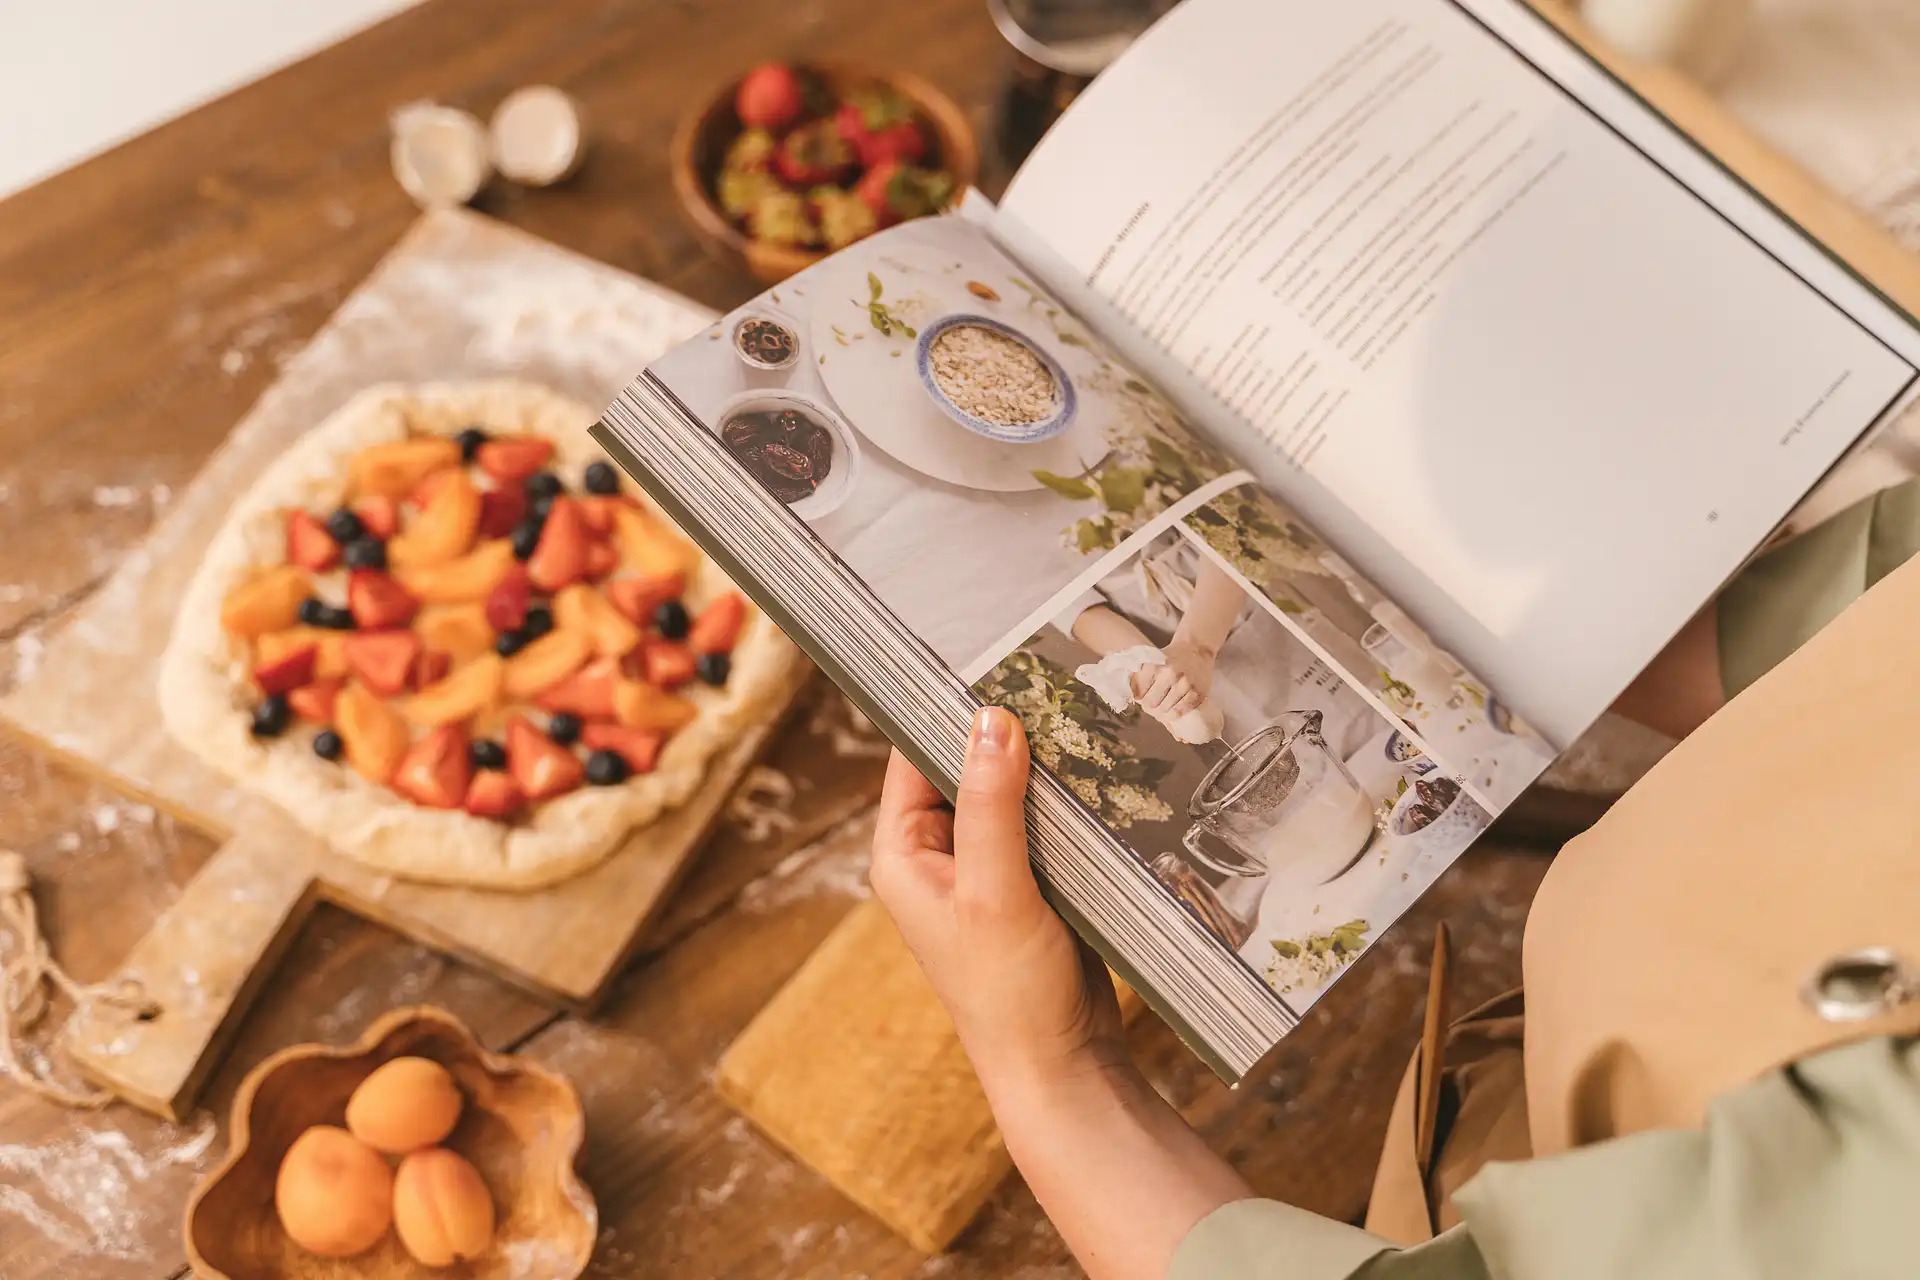
Start with the card you would least like to lose. Photograph it today, type it up this week, and the rest of the box can follow at whatever pace suits you.
Questions? Email us at hello@tablespoonbook.com