How to print a cookbook
Once the recipes are written, you still have to turn them into something you can hold. This guide covers how to print a cookbook: the four realistic routes, from a home printer to a recipe-book service, then binding, paper, page size and count, preparing the files, ordering a proof, and what drives cookbook printing costs and timelines. It assumes the recipes are already written up and ready to go.
By Luke from Tablespoon
Three questions to answer before you print
Printing decisions get much easier once you know three things: how many copies you need, where the book will live, and the date you need it by.
Copies first. One copy for your own shelf is a different job from twelve, one for every household. Some routes get cheaper per copy as the number goes up, and others cost about the same whether you print one or twenty.
Then where it lives. A book that sits open on a kitchen counter, getting splashed, wants a binding that lies flat and a cover that wipes clean. A book given as a gift and kept on a shelf can be more formal.
Last, the date. Printing and delivery are the parts you can't hurry, so if a birthday or a holiday is involved, work back from it and leave room for a proof copy.
If you are still gathering recipes, the guide to making a family cookbook covers everything before this point.
Step 1
Choose how you'll print it
There are four realistic routes. They trade cost, time and finish differently, and the right one depends on the answers above.
Print at home
- Good for
- Small books, one or two copies, and collections you want to keep adding to. Pages in sheet protectors in a ring binder lie flat and are easy to update.
- You'll spend
- Ink, paper, a binder and the most time. Colour photos use a lot of ink, and most home printers can't print right to the edge of the page.
- Watch out for
- Ordinary office paper is thin and photos look dull on it. Double-sided printing at home often drifts out of line from one side to the other.
A local print or copy shop
- Good for
- A proper binding, such as coil or a softcover, on pages you've laid out yourself, and a person who can show you paper samples.
- You'll spend
- Time laying out the pages and preparing a print-ready PDF, plus a per-copy price that depends on page count, colour and binding.
- Watch out for
- Prices and options vary a lot between shops. Ask for a single proof before you order the full run.
Print-on-demand and photo-book services
- Good for
- Shop-style softcovers and hardcovers from a file or an online editor, delivered to your door, one copy at a time if you like.
- You'll spend
- Layout time, either in your own software or in the service's editor, which is usually built around photos rather than text.
- Watch out for
- Each service has its own sizes, page-count rules and file requirements. Text-heavy recipe pages get fiddly in photo-book editors.
A recipe-book service such as Tablespoon
- Good for
- Skipping layout and file preparation altogether. You add recipes, each is typeset in one consistent style, and the book is printed and shipped for you.
- You'll spend
- Time on the recipes rather than the pages. You preview every page before anything prints.
- Watch out for
- Less control over each page, and one fixed format. Tablespoon is a one-year plan with one printed book included ($69.99, paid once).
If you are unsure, count the hours as well as the money. Printing at home looks cheapest until you add up the evenings spent on layout, test pages and trimming.
Step 2
Pick a binding
Binding decides how the book behaves on a counter, so it matters more for a cookbook than for most books. These are the common types.
Spiral, coil or wire binding
Holes are punched along the edge and a plastic coil or a double wire is threaded through. The book lies completely flat and can fold back on itself, which is why so many church and community cookbooks use it. It has no printed spine, so it is harder to find on a shelf, and the coil can bend if the book is dropped.
Ring binder
The most flexible option. Pages go into sheet protectors, and you can add, remove and reorder recipes for as long as you like. It looks more like a kitchen file than a book, and it is bulky to post.
Perfect-bound softcover
The binding on most paperbacks: pages glued into a wraparound cover with a flat spine you can print a title on. It looks like a book from a shop and is light to mail. It won't lie fully flat unless you press it open, so a generous inner margin helps on a kitchen book.
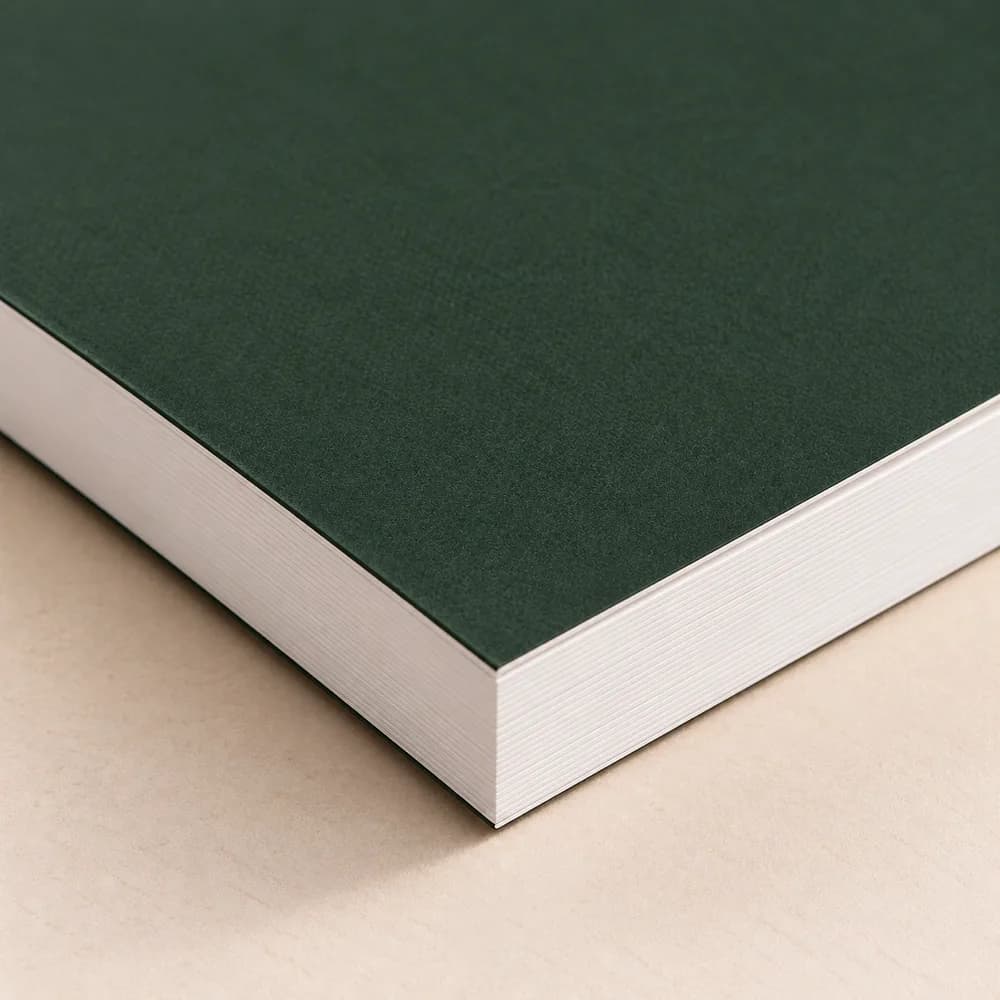
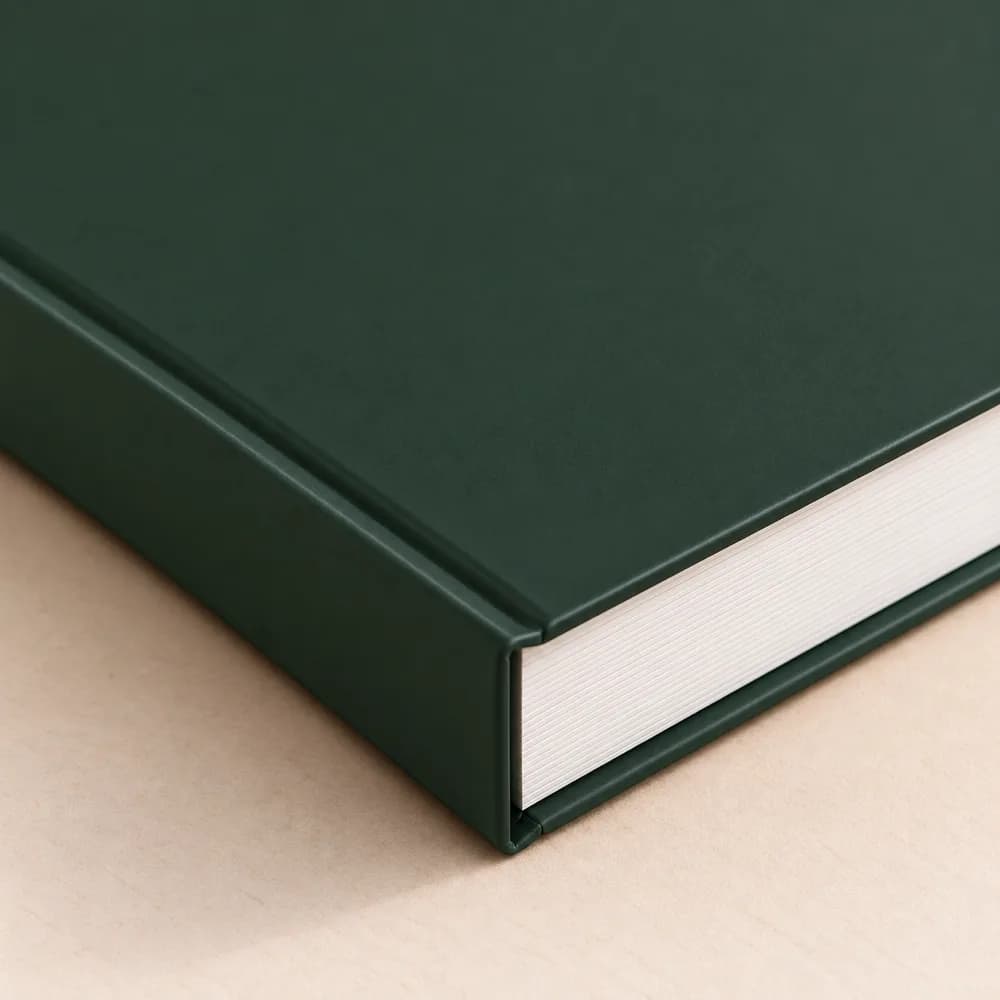
Hardcover (case binding)
Pages bound inside rigid boards. It is the sturdiest option and feels most like an heirloom, which makes it a good choice for a gift or a book meant to be passed down. It costs more and weighs more, and it also needs a firm press to stay open near the spine.
Stapled (saddle stitch)
Folded sheets stapled through the fold, like a magazine. It is cheap and quick, but it only works for thin booklets. It suits a handful of recipes as a party favour better than a family cookbook.
A simple rule: if the book will live on the counter, choose something that lies flat. If it will be given, shelved and passed down, choose a softcover or a hardcover. Some families print one of each.
Step 3
Choose the paper, size and page count
Paper
Paper changes how photos look more than anything else you choose. Coated paper (gloss, silk or matte) holds the ink on its surface, so photos come out sharper and richer. Uncoated paper feels softer and is easier to write notes on, but colours print a little flatter. Heavier paper lets less of the next page show through, which matters when recipes have dense text on both sides.
Full colour costs more than black and white at most printers. If your book has photos of dishes or of handwritten cards, colour is worth it. A black-and-white copy of a card loses the pencil, the stains and the faded ink that made it worth printing.
Page size
Bigger pages are easier to cook from. US Letter (8.5" x 11") gives a recipe and a photo room on one page and stays readable from a step away. Smaller formats look neat on a shelf but push long recipes onto a second page. Whatever you choose, set your document to the printer's exact size before you lay out a single recipe, because resizing later breaks every page.
Page count
Allow roughly one page per recipe, or two if it has a large photo or a long method, then add the front pages: title, dedication, contents and any introduction. Many printers have a minimum page count for a bound book, and some need the total to be a multiple of a set number, so check before you finalize. Blank pages at the back, labelled for recipes still to come, are a good way to round up.
Step 4
Prepare the files
If you are printing anywhere other than your own printer, the shop or service will want a print-ready file, and almost every printer accepts a PDF. Before you export, check these:
- Size: the document matches the printer's page size exactly.
- Bleed: if a photo or a colour runs to the edge of the page, extend it past the edge by the amount the printer asks for, often an eighth of an inch, so no white sliver shows after trimming.
- Margins: keep text well inside the page, with extra room on the inner edge so words don't disappear into the binding.
- Images: use the original photos, not screenshots or pictures saved from a messaging app, which are often compressed. 300 dpi at the printed size is the usual target.
- Fonts: embed them in the PDF, or the printer may swap in something else.
- Page order: page 1 is a right-hand page. Check that each recipe and its photo land where you expect when the book is open.
Every printer publishes its own file requirements. Read them before you start the layout, not after, because some of them, like bleed and page size, are painful to fix at the end.
Step 5
Order one proof copy first
Before you print every copy, print one. Screens are lit from behind and paper isn't, so photos often come out darker on the page than they looked on your monitor.
With the proof in hand, check what a screen hides: whether text runs into the binding, whether photos are sharp, whether the colours look right and whether the pages are in order. Then cook one recipe from the page. If you have to squint or flip back for a quantity, fix it now.
A service that lets you preview every page on screen saves some of this step, but it is still worth reading the whole book through once before you order.
Step 6
Budget for cost and time
Prices change and vary from printer to printer, but the same things drive the cost everywhere: page count, colour, paper weight, binding, the number of copies and shipping. Colour and hardcover usually add the most. Ask for a price on your exact specification rather than trusting the starting price on a website.
Shipping is the part people forget to budget for, in time as well as money. Add the time to print, the time to ship and a buffer in case something needs reprinting. For reference, Tablespoon's standard shipping arrives in about 12–14 business days and is free; express arrives in 6–8 business days for an additional fee.
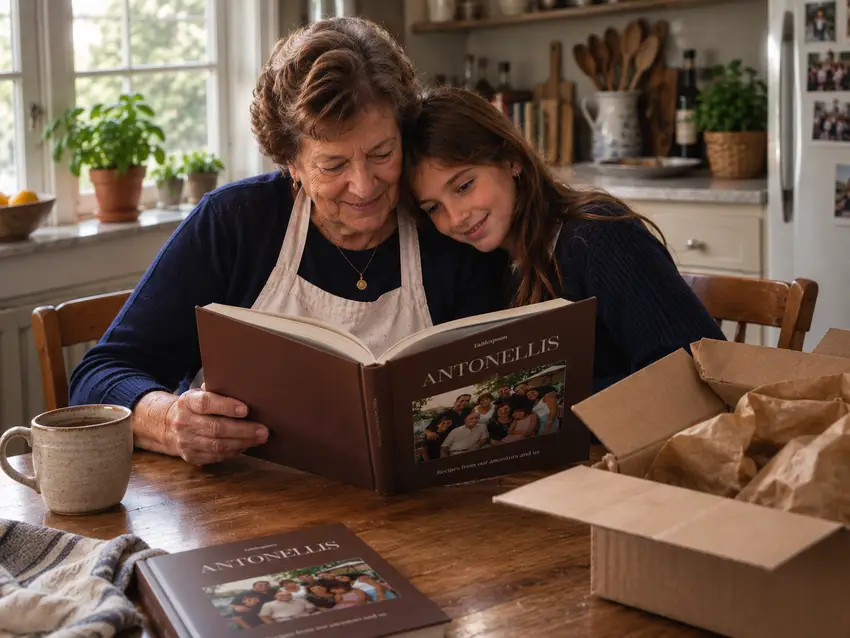
Order all the copies you need at once if you can. Coming back for one more later is easy with some services and awkward with a local print run.
If the book is a present, how to make a personalized cookbook covers the choices that make it feel like one.
Where Tablespoon fits (and where it doesn't)
Tablespoon is the fourth route in Step 1. It handles the layout, printing and shipping, so there is no file to prepare. In short:
- You paste, type or photograph each recipe, and it is typeset in one consistent layout. A photo of the original card can be printed on that recipe's page.
- US Letter (8.5" x 11"), printed in full colour on premium coated paper.
- Softcover is included, and hardcover is a one-time $20.
- Each book holds up to 190 recipes, or about 790 with extra pages, in chapters you name and reorder, under one of ten cover templates with your own title, photo and colours.
- You preview every page, and nothing prints until you order.
- Standard shipping is free worldwide and arrives in about 12–14 business days; express arrives in 6–8 business days for an additional fee. Extra copies can be ordered at any time.
What it doesn't do: print files you've laid out elsewhere, offer other sizes or spiral binding, or handle print runs of hundreds. If you need any of those, a print shop or a print-on-demand service is the better fit.
It's $69.99, paid once: a year of recipe editing and one printed book. Nothing renews automatically; we'll email you before the year ends if you'd like another year. For anything else, see our refund policy.
About a minute to set up · preview every page before it prints
Frequently asked questions
It depends on where the book lives. Spiral, coil or a ring binder lies flat on a counter and is easiest to cook from. A perfect-bound softcover or a hardcover looks like a book from a shop and lasts better on a shelf, which suits a gift. Some families print one kitchen copy and one keepsake.
It depends on page count, colour, paper, binding, the number of copies and shipping, so get a quote on your exact specification. Home printing costs ink, paper and time. Tablespoon is $69.99 a year with one printed softcover book and free standard shipping; hardcover is a one-time $20.
Yes. Use the heaviest paper your printer handles, print one test page with a photo first, and put the pages in sheet protectors in a ring binder so the book lies flat and you can add recipes later. Expect it to look homemade, which for some books is exactly right.
Almost always a PDF, set to the printer's exact page size, with fonts embedded, images at about 300 dpi and bleed added if anything runs to the edge. Each printer publishes its own requirements, so read them before you start laying out pages.
Roughly one page per recipe, two for recipes with a large photo or a long method, plus a few front pages for the title, dedication and contents. Check your printer's minimum page count, and any rule about multiples, before you finalize.
It varies by printer, so ask before you order and leave time for a proof. For reference, Tablespoon's standard shipping is free and arrives in about 12–14 business days, and express arrives in 6–8 business days for an additional fee.
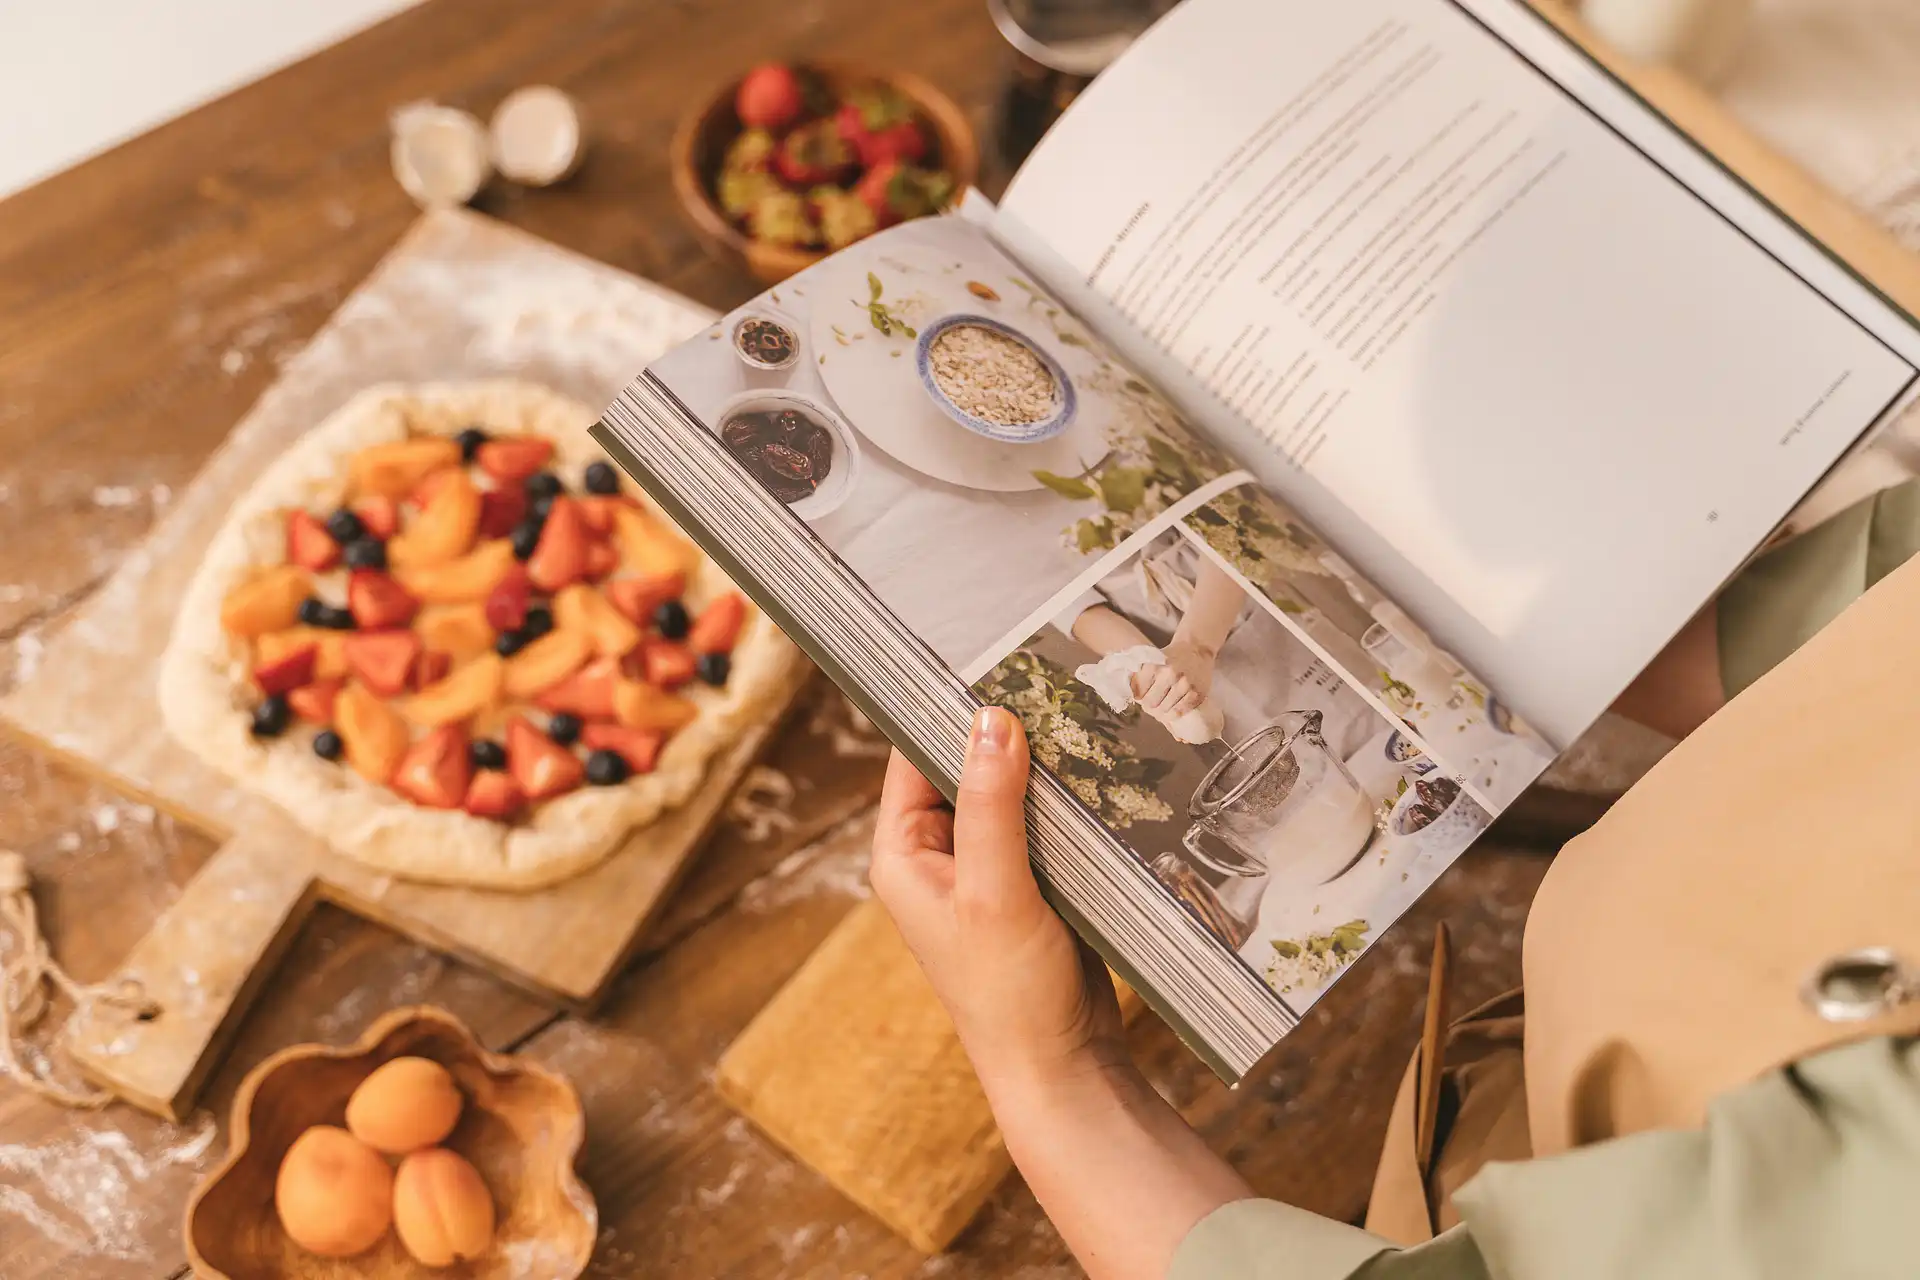
Print one copy, cook from it and fix whatever bothers you, then print the rest. It is the slow way to start and the quickest way to get it right.
Questions? Email us at hello@tablespoonbook.com